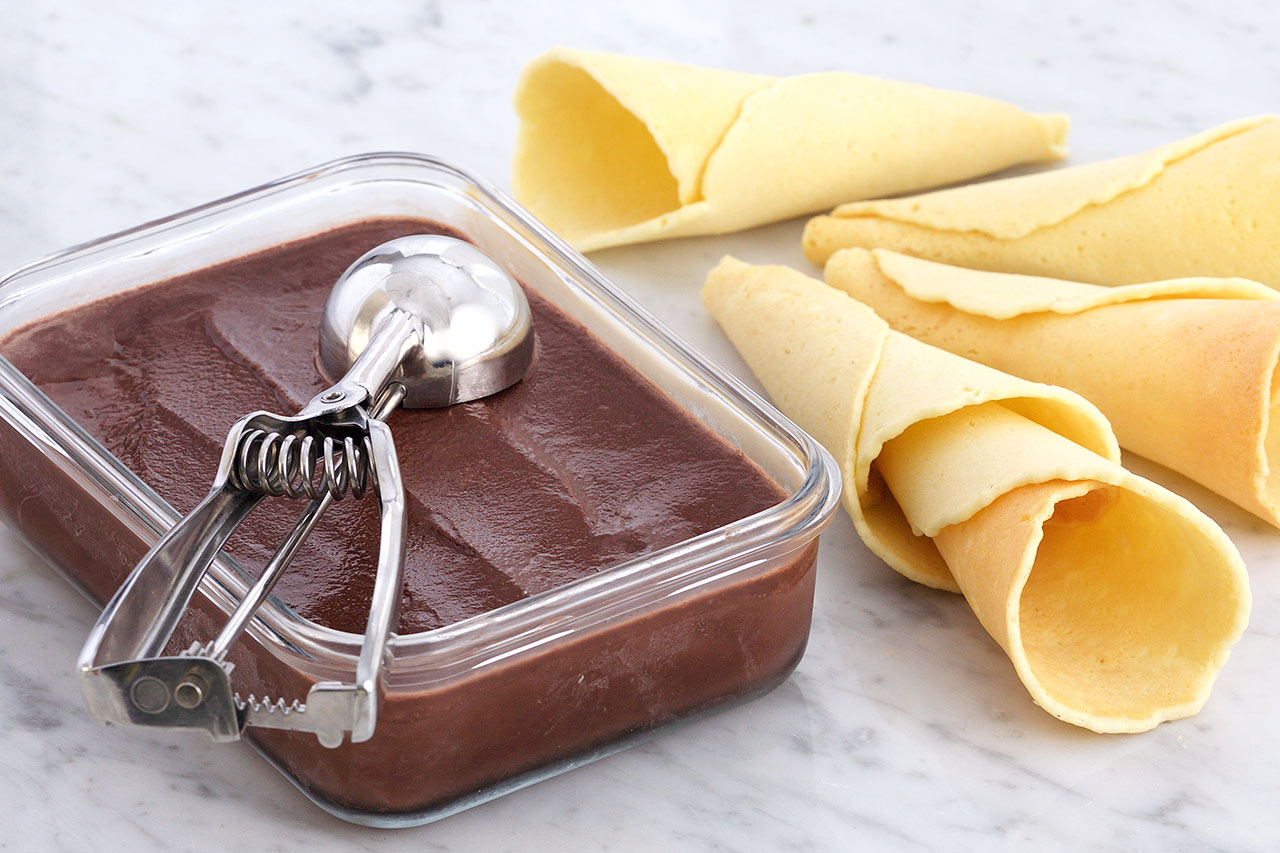
Soft and fluffy, gelato’s moment is gaining in popularity across North America (and we’re okay with that!). Here is a homemade chocolate gelato recipe from Anna Olson you must try.
Related: Fluffy Chocolate Truffle Tart
Watch and stream your favourite Food Network Canada shows anytime, live or on demand on STACKTV and the Global TV App. Visit the Where to Watch page for more information.
ingredients
For the gelato
For the homemade ice cream cones
directions
The gelato will keep for up to a week. The cones will keep in an airtight container for up to a week.
Whisk the milk, sugar, cocoa powder, cornstarch, corn syrup and salt together until the sugar has dissolved. Pour the gelato mix into an ice cream maker and freeze following manufacturer’s instructions. Transfer the frozen gelato (it will be soft) to a container and freeze until firm.
Whip the eggs and sugar using electric beaters or a stand mixer fitted with the whip attachment on high speed for 2 minutes, until the mixture has doubled in volume. Reduce the speed to low and pour in the melted butter. Add the lemon zest and stir to combine. In a separate bowl, sift the flour and cornstarch and add this to the batter, mixing on low speed until combined. The batter will look like a thick cake batter.
For baking the cones using a crepe/pizzelle iron: If you have an electric crepe or pizzelle maker, heat this up to medium. Use a small ice cream scoop to drop a dollop of batter on the centre of the ungreased pan. Close the maker to press it and let cook 60-90 seconds until light golden brown and crisp. If the maker comes with a cone-shaping tool, carefully and quickly pull off the wafer and mold it around the cone shape to set (it will cool quickly.) Set aside and repeat with the remaining batter.
For baking the cones in the oven: Cut a 4-inch (11 cm) circle template from a plastic container lid (relatively thick plastic). Place the template onto the parchment or baking mat (placing it on the counter is easier than doing this on the baking tray.) Use a small offset spatula to spread a thin, even layer of the batter to fill the circle. Lift the template and repeat making 1 to 2 more circles onto the paper or mat and then return it to the baking tray. Bake for 5 to 6 minutes, keeping a close eye on the cookies during the last minute. While the first tray is baking, you can fill the second tray (only bake one tray at a time).
As soon as the first tray comes out of the oven, carefully remove a cookie with a spatula and wrap it around a wooden cone mold (available at kitchen stores), let it sit for 20 seconds, remove the cone and repeat with the other cookies. If the cookies set before you can shape them into cones, you can pop the tray back in the oven for 10-15 seconds to soften them. Repeat until all of the batter has been used.
