The art of chocolate is a precise one, as dependent on great technique as it is on good ingredients. The difference between a well-made bonbon and a middling confectionary is slight, and experts spend years learning the tools of the trade. We’ve pulled seven of the best techniques from the experts on The Great Chocolate Showdown to demonstrate the proper way to melt, stir and form your next chocolate creation.
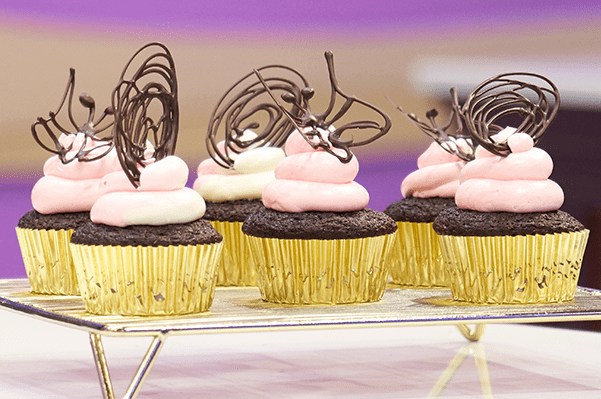
Seed Tempering
To start with, the melting stage is key to that signature snap when you bite or break into that perfect piece of chocolate. After the initial melting process using a glass bowl over barely simmering water (or short bursts in the microwave), small pieces of chocolate (or seeds) are added to quickly cool down the chocolate to a specific temperature. After the chocolate is warmed up again with a quick stint on the double boiler, it’s ready to be used for chocolate garnishes.
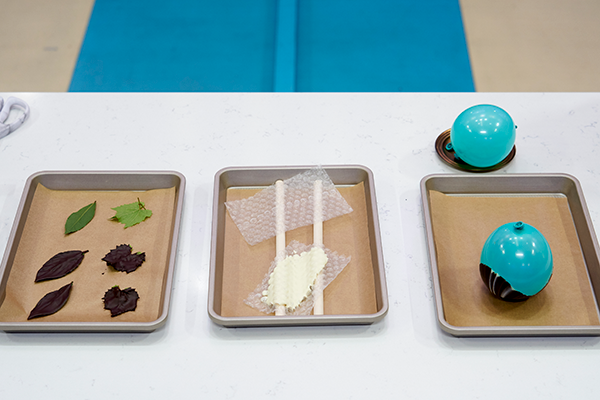
Decorative Chocolate Forming
After that tempered chocolate is prepared, wonderful things can happen using everyday items such as leaves (paint the chocolate on the reverse side to get the vein details in), bubble wrap (rest it on dowels to give some ridges and texture) and balloons (get a tulip shaped cup by dipping clean balloons at an angle into swirled chocolate, then popping them with a straight pin).
Take a look at Food Network Canada star Anna Olson’s method for decorative chocolate forming.
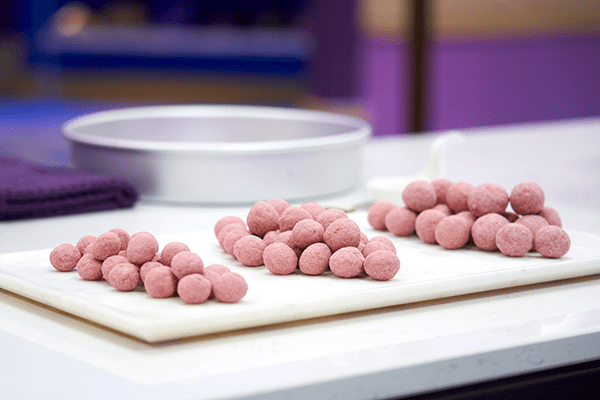
Panning Chocolate
Panning, or coating candy or nuts in thin layers of chocolate, gives gilded results with minimal effort. You can use any type of chocolate, but the ruby variety, with its pinkish hue and fruit notes, are a perfect pairing for grapes or nuts. In a large round container, drip the chocolate over whatever you want to coat and swirl it around until an even layer of chocolate is applied.
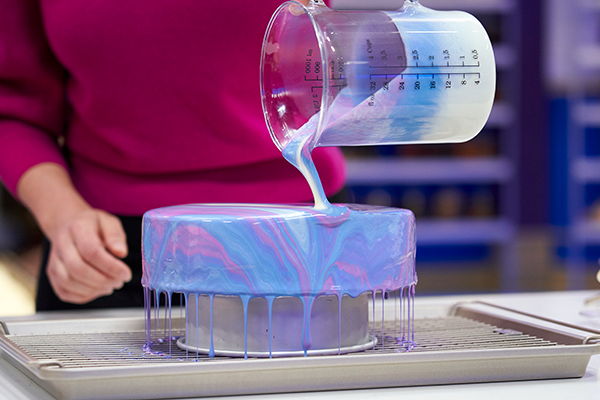
Mirror Glaze
Beautiful, glossy mirror glazes for cakes are created by boiling sugar and water with condensed milk, which is then poured over white chocolate and powdered gelatin. After a brief period to rest, the mixture is blended until smooth, then tinted with different food colouring (start with the lightest hue and a low speed). Remove the air bubbles by straining it — you can mix your colours at this stage, too, but remember to pour slowly. Elevate your chilled cake on a pan to catch the drips, then pour in a continuous motion (there’s no backing out at this point!).
See Anna Olson demonstrate the proper pouring technique for a perfect mirror glaze here.
Polycarbonate Molding
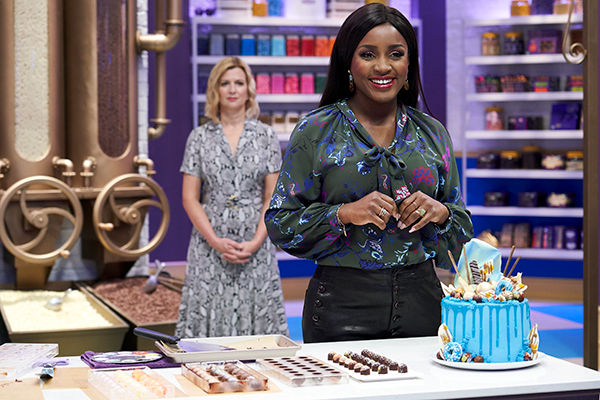
Make a bevy of chocolate bonbons using an assortment of household items and a polycarbonate mold. Be sure to polish the mold first to make the finished product perfect, then paint the molds with cocoa butter infused with food colouring. You can use a toothbrush and spoon to create splatter, or a thin brush to swipe colour into the molds. After setting, fill the cavities of the mold with tempered chocolate and refrigerate — a quick lift and the mold should come right off.
Watch famed cake designer Cynthia Stroud demonstrate polycarbonate molding.
Chocolate Molding
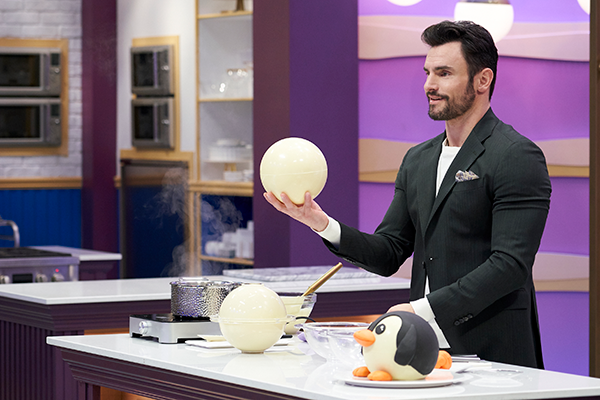
A process that takes chocolate to a 3D hollow form, molding can be used to make penguins, bunnies or any manner of chocolate critter. After a good polish (essential to have a shiny finished product), ladle your chocolate into the mold. It’s critical to get the chocolate in fast, or else it will set and not give you time spread the chocolate out in a thin, even layer by rotating the mold. Continue turning it slowly until you can feel the chocolate set, then rest the chocolate before carefully peeling the mold away.
Watch Steven Hodge make a pint-sized penguin using chocolate molding.
Modelling Chocolate
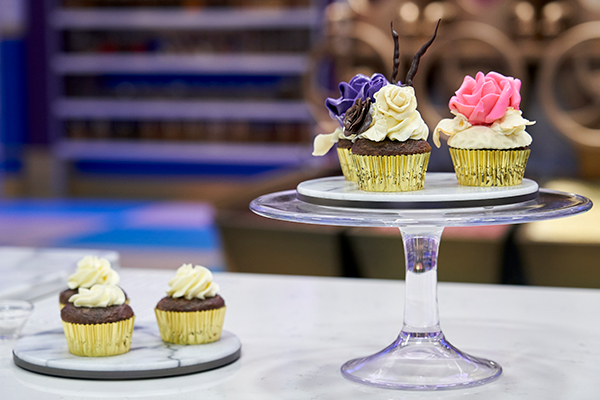
Sometimes called the fondant of the chocolate world, modelling chocolate is extremely pliable and can be molded to create different elements. It needs to be kneaded to warm it up and ensure a smooth and shiny finish. Once rolled out to a half-centimeter thickness, molding chocolate can be rolled over an impression mat to add texture, or assembled into flowers or other decorations.
Watch Cynthia Stroud make petal-perfect flowers using modelling chocolate.
