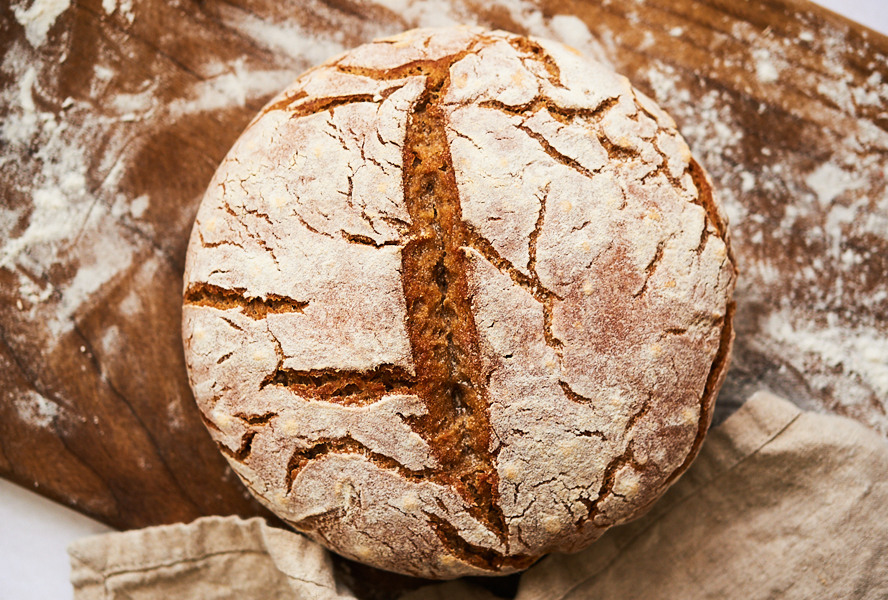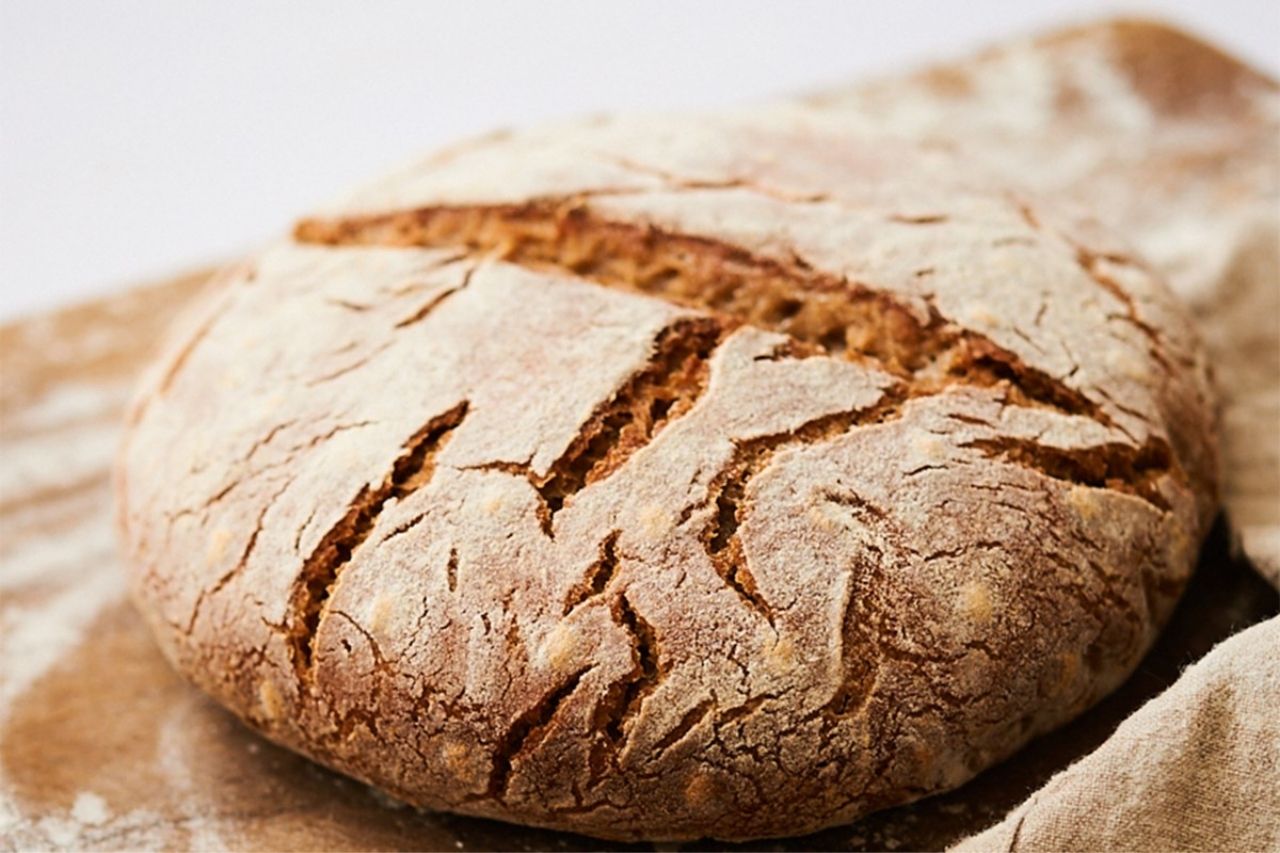
There’s nothing like the smell of homemade bread in your kitchen, and the taste of a fresh sourdough loaf is always so much better than store-bought. While there are some bakeries that sell traditionally made sourdough bread, it’s not always common to find. Besides, it’s actually easy to make your own bread at home. With a few readily available ingredients and a little bit of time, you can learn the basics of working with sourdough. The slow fermentation process of sourdough makes the bread easier to digest, and tastes absolutely delicious. We know you’ll love it!
ingredients
directions
Combine the starter with water and the different flours in a large bowl. Gently mix with a wooden spoon until incorporated evenly. The dough should be a bit sticky.
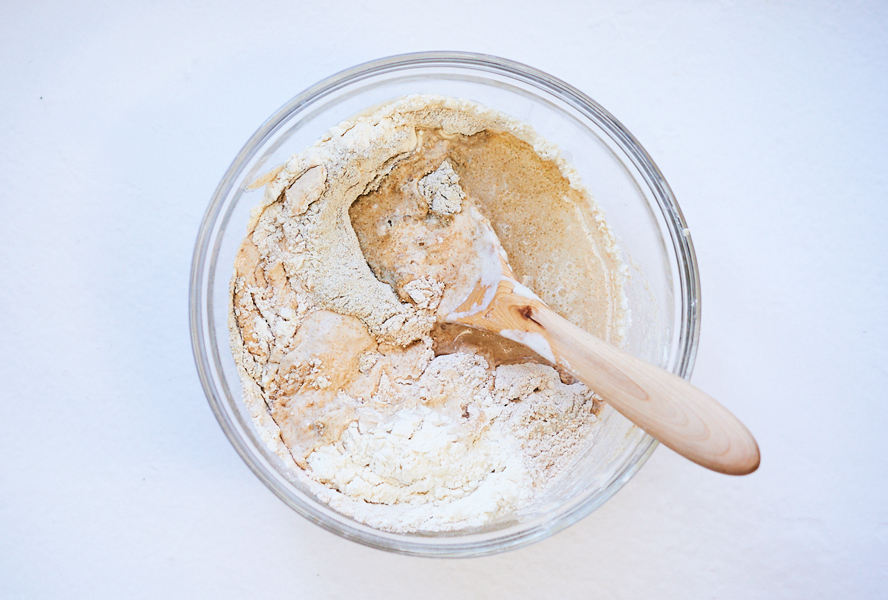
Let the mixture sit in the bowl for 30 minutes, covered with a towel. You’ll want the room temperature to be warm, around 78°F.
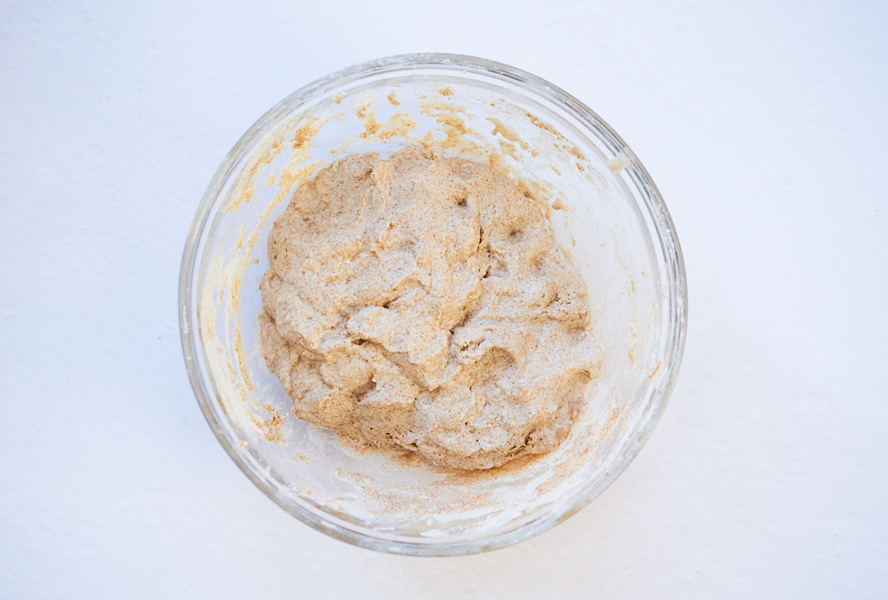
After 30 minutes, add in the sea salt. You can gently rub the salt into the dough with your fingers.
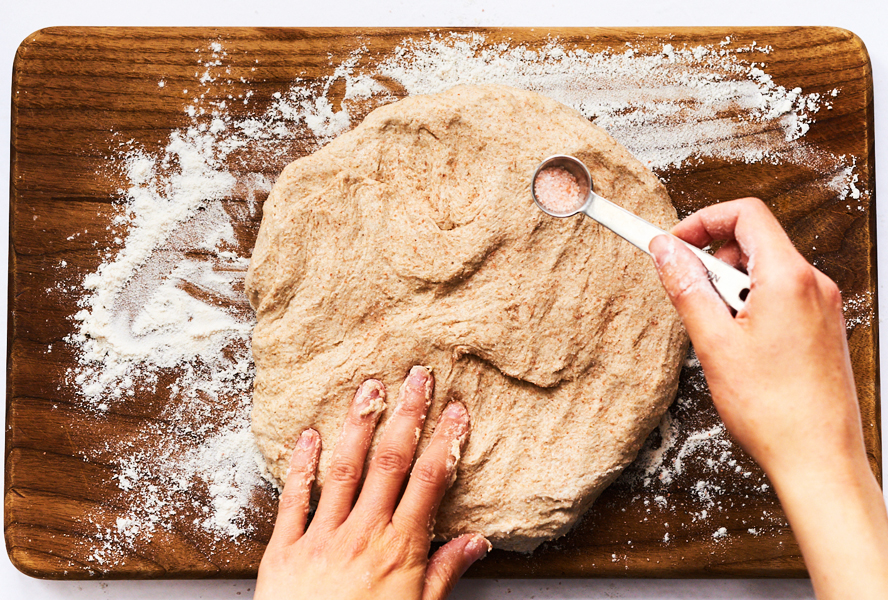
Place the dough on a clean counter or a large cutting board, and lightly flour the surface. Here’s where you’ll do a technique that’s called “slap and fold” for around 5 minutes: Stretch out the dough into a rectangular shape and slap this against the surface. Once the dough is laying flat on the surface, fold the bottom end over into the center. Stretch out the dough again and repeat several more times in the 5 minute period. You’ll find that the dough starts to hold together better and is smoother after this process.
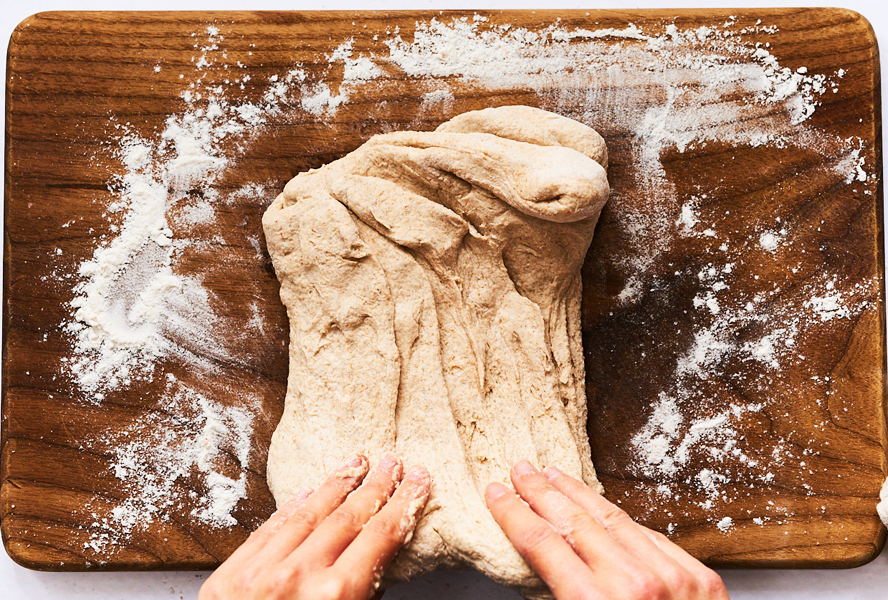
Let the dough rest for 30 minutes. Place it back in the bowl, and cover with a towel for this resting period.
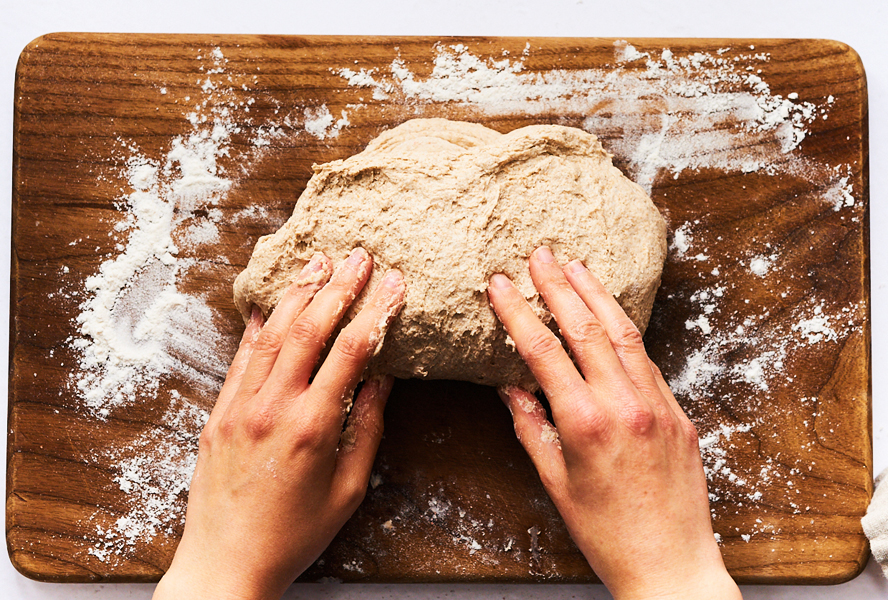
After 30 minutes of resting, you’ll do a set of what’s called “stretch and fold.” This is more gentle than the “slap and fold.” Stretch the dough into a rectangular shape and fold the bottom edge into the centre. Then fold the upper edge into the centre.
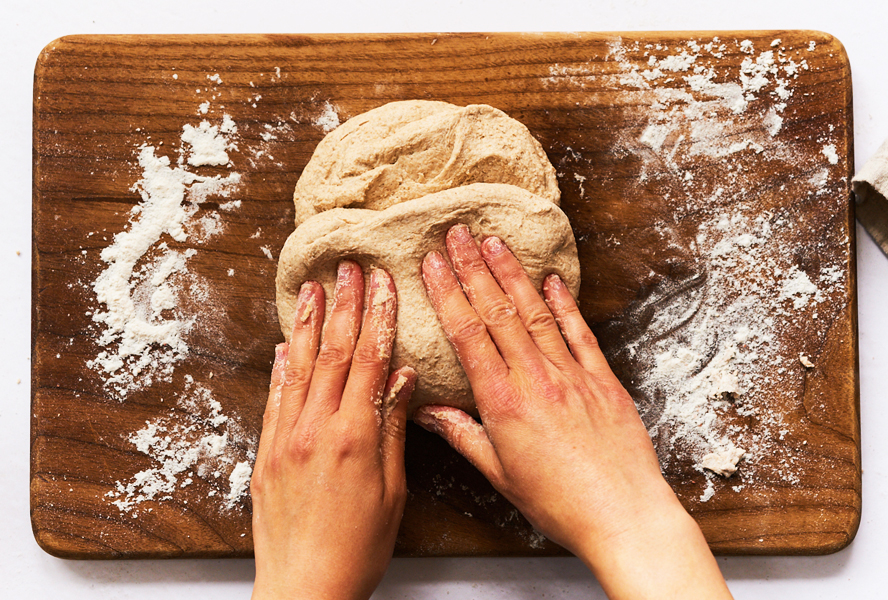
Place the dough in the bowl and cover with the towel to rest for another 30 minutes. Repeat another set of stretch and fold after the 30 minutes.
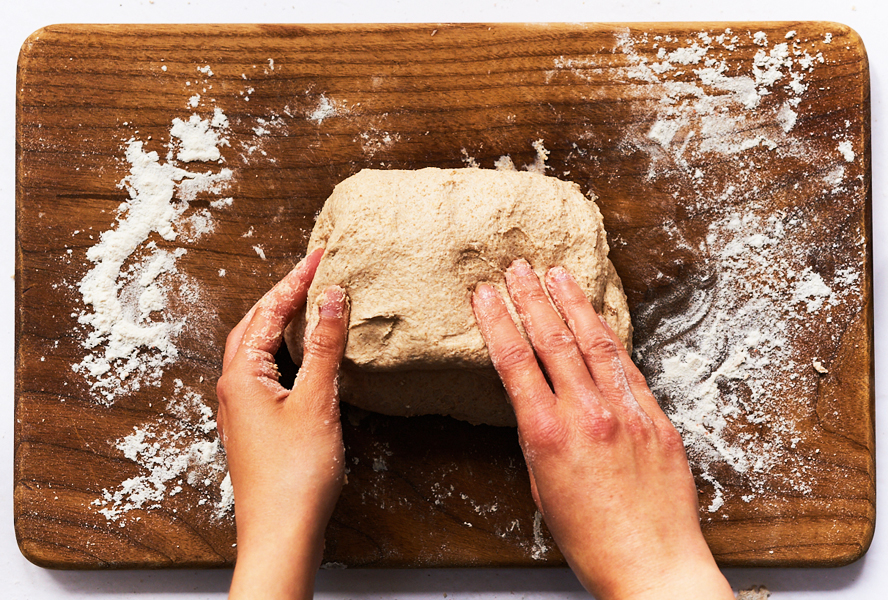
Place the dough in the bowl and cover with the towel to rest for another 30 minutes. Repeat a third set of stretch and fold after the 30 minutes.
Place the dough back in the bowl, cover with the towel, and this time let it rest for 2 to 2.5 hours. During this time you should see the dough rise, about 30-50 per cent.
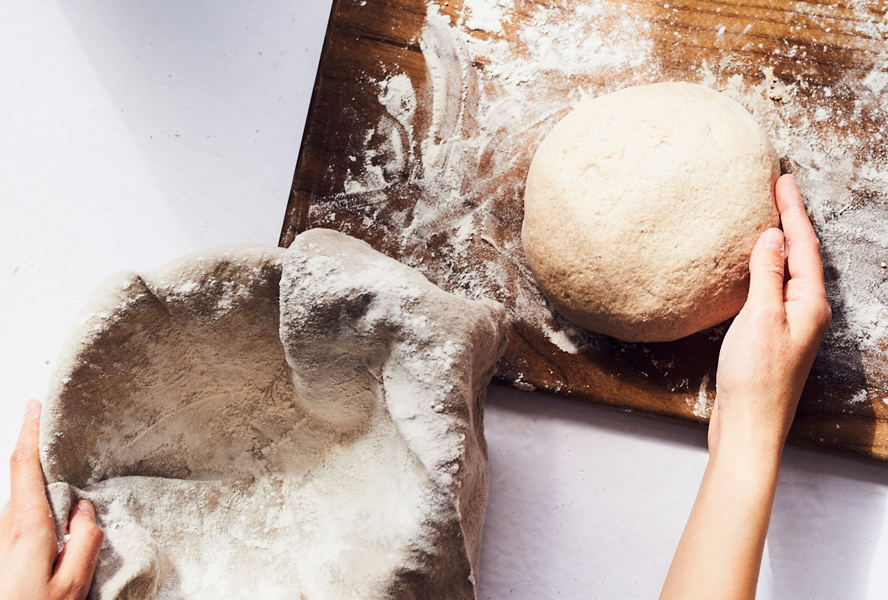
After resting, place the dough on your clean countertop or cutting board again and lightly shape into a round. Experienced sourdough bakers call this the pre-shape step. You can let this rest for 20 minutes. While the dough is resting, line a colander or bowl (or use a proofing basket known as a banneton, if you have one) with a towel and lightly flour it.
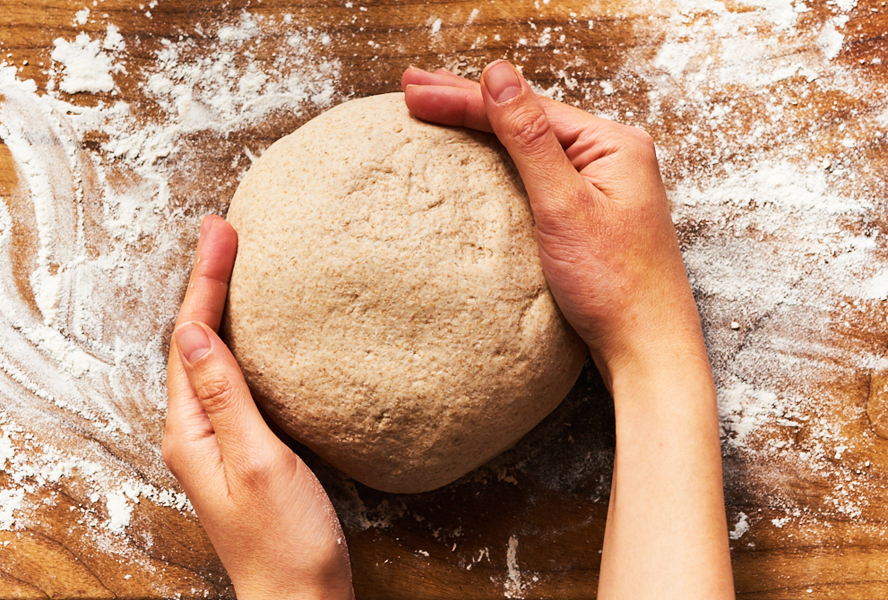
Gently reshape the dough into a round and then place this into the lined strainer, bowl or banneton. Cover with a towel and place in the fridge overnight for around 14 hours.
In the morning, preheat the oven to 450°F, placing a Dutch oven with its lid (without the dough) inside the oven for 1 hour.
Take the dough out of the fridge. Place a piece of parchment paper (you’ll want to trim the paper to make sure it fits in the Dutch oven) on top of the dough, and then invert the strainer, bowl or banneton to flip over so the dough is resting on top of the parchment. Use a small sifter to sprinkle white rice flour over top of the dough. Then score the top of the bread, using a razor blade, bread lame or really sharp knife. You can do one simple line down the centre, or you can try doing other more creative scores (simply look online for “how to score sourdough”).
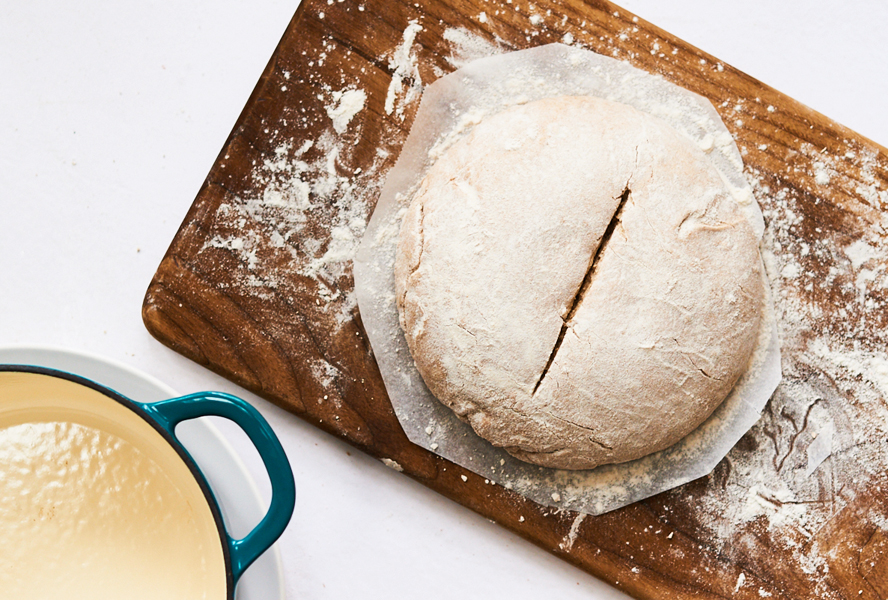
Carefully transfer the dough into the heated Dutch oven and cover with the lid. Be careful, since the Dutch oven and lid will be very hot.
Bake for 20 minutes. Then uncover and turn the heat down to 400°F. Bake for another 30 minutes, or until the crust is a nice golden colour.
Let cool on a wire rack for at least 2-3 hours before slicing.
